Video of Knack & Know-How to Do the Work Efficiently


Now, you have prepared the necessary "preparation" for Garden Do-It-Yourself, it will finally be the "execution" of doing your own landscaping with your own hands, that is, the step of landscaping work.
Landscape Ohta Niwaishi, which has been working on many landscapes so far, efficiently carries out the Garden DIY work and introduces knack and know-how that do not fail in construction with videos and images.
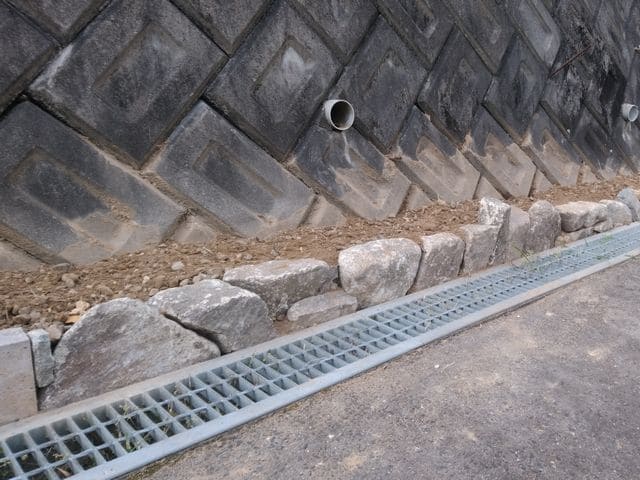
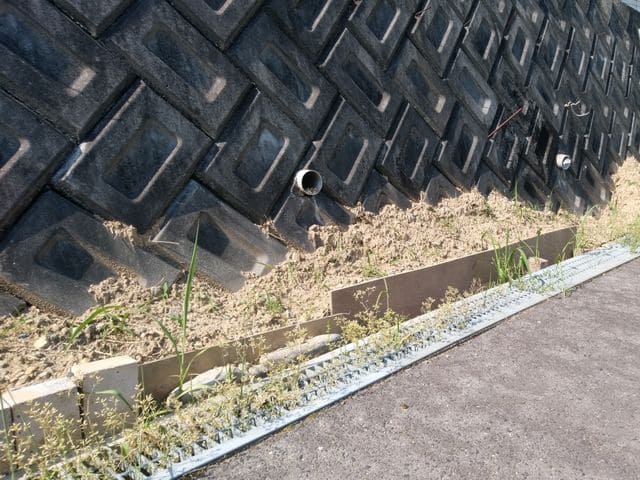
Make a flower bed
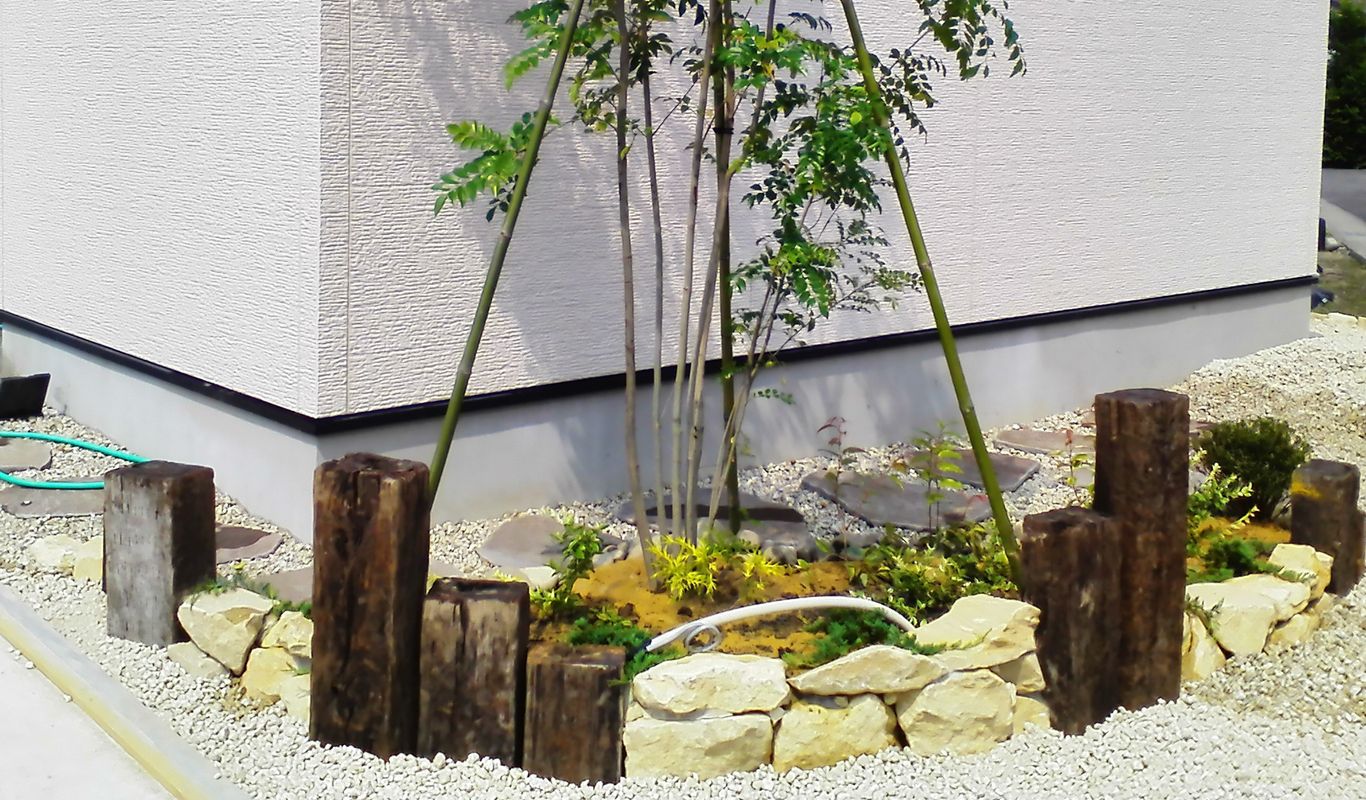
- We make earthen of flower bed with Ena stone.
- When assembling the stones, we will minimize the gap so that the soil does not flow.
- Remove the soil and pebbles biting in place..
- Stabilize with back filling. and setting them that the top end is aligned.
- In this case, we used natural stone and make a random style, without caring about horizontal and arrange them that the whole is average.

 |
 |
Soil work
In landscaping work always the soil is close relationship. It takes time and physical strength to manipulate the soil freely, but it is important to treat the soil carefully for such as ground, soil, planting soil, and finishing.
Digging a hole
- Decide the size you want to dig, and use scoops to mark roughly marks
- Lap a scoop and dig in one go.
- Excavate the soil while shaving so that the edge is vertical
- It's efficient to pilll the dug soil putting the edge of the hole, when you fill the hole
- Dig deeper than the height of the root unit, and put the soft soil in the middle. By doing this, the bottom is easy to stabilize when you put the root unit, and it adheres to the soil, it becomes difficult to make a cavity.
Set Garden Stone
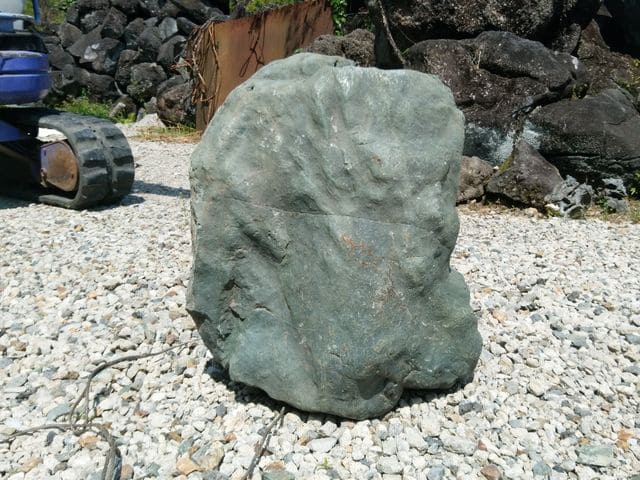
Determine the Face of the Stone
- First look for the stone face.
- We do like this.
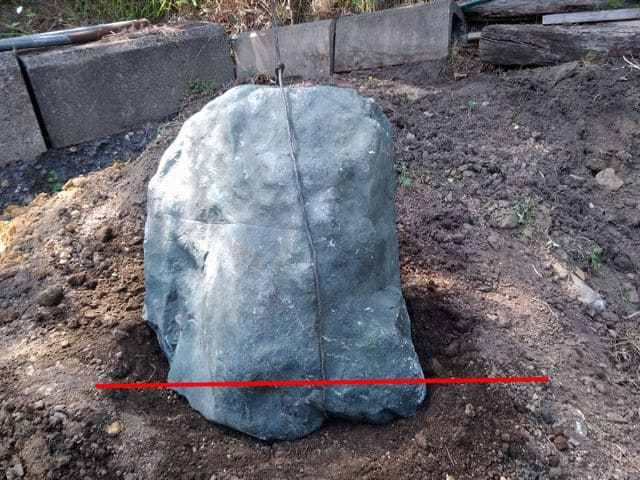
- Dig the depth to the line where you will set the garden stone, leave it as it is, and check how you dig it (which way it falls).
- Show the best angle of this garden stone.
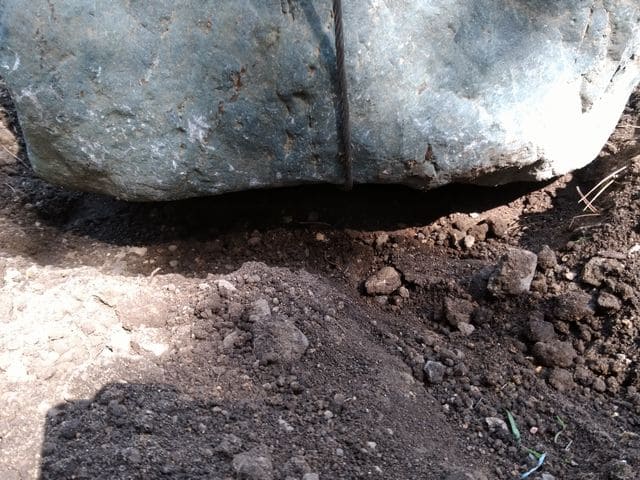
- The position has been decided, but there is only a gap.

 |
 |
 |
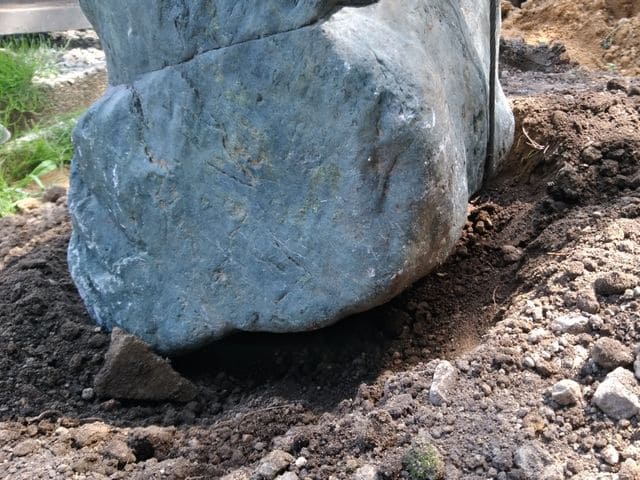 |
- We set like this
- filling line
- 1 in the gap
- 2 in the gap
Harden Soil without using Water
- Tamp the soil with a stick. At this time, there is also a method of fixing with stone, but it would be more stable to tamp by soil alone.
- Remove the wire. Try pulling on the wire and if it moves it will come out without using a machine. Pass the wire through the handle of the bar or scoop and pull it with both hands.
Finish
Cover the soil so that the root of stone has no gap, tap it lightly to stabilize the soil. It is usually finished with makeup soil.
Cement / Concrete
When we do landscaping, need is indispensable for cement.
You have to gather a lot of tools at concrete work, but you can be just careful not to fix the lye on the tools, keeps them practicable semi-permanently.
Lye goes out, you've better prepared some curing sheets and puddle buckets filled water.
Be careful for chapping hands.
Mixing Cement
Joint stones and bricks, and base for support, make stairs and passage…and so on that cement combination and hardness are adjusted according to the use.
The hearden speed changes by a season(the temperature), so process of operation is planned and handled.
Cracking
In the landscaping works, it acts frequently in case of cracking the rocks or bricks or concrete when it not fit together or repair the size.
In the small scale, you can prepare only a hand chisel and a hammer. There are the types of tip, pointed tip and flat tip, use them properly according to purpose.
Let the tip put into the rip and hit with the hammer toward unneeded.
It might be easily to do when you nick by a cutter first.
In the large scale or wide range, you better use the electric power tool and call the heavy equipment.
Leave all your garden-related needs to Ohta Niwaishi
| Company Name | Ohta Niwaishi / Ohta Co., Ltd. |
|---|---|
| Head Office Location | 2-53-2, Sohara Shinsakaemachi, Kakamigahara Shi, Gifu Ken, 504-0855, Japan |
| TEL | +81-58-389-2814 |
| FAX | +81-58-389-2580 |
| Business Hours Japan time | 8:00-17:00 Enquiries can be made outside of business hours |
| Regular Holiday | irregular days off |
| URL | https://ohta2814.com/english/ |
Leave all your garden-related needs to Ohta Niwaishi
| Company Name | Ohta Niwaishi /
Ohta Co., Ltd. |
|---|---|
| Head Office
Location |
2-53-2, Sohara Shinsakaemachi,
Kakamigahara Shi, Gifu Ken, 504-0855, Japan |
| TEL | +81-58-389-2814 |
| FAX | +81-58-389-2580 |
| Business Hours
Japan time |
8:00-17:00
Enquiries can be made outside of business hours |
| Regular Holiday | irregular days off |
| URL | https://ohta2814.com/english/ |
